
|
🡸 HOME: View the Keys Keys to the Mind Print the Keys to the Mind Alpha Edition 27 June 2025 |
Keys to the Mind Symbol Pack
Printing Instructions
| 🡺 | Note: |
|
You must have a color printer to print this deck. |
|
| 🡺 | Note: |
| Printing this deck will use a lot of black ink. If a printed deck is available, it will cost less than the ink and laminating supplies. |
Contents:
Click here to download a printable PDF copy of these instructions
Keys to the Mind Print Files
How to Choose Paper/Cardstock
How to Choose Laminating Sheets
How to Test Paper Orientation/Alignment for Half-Duplex
How to Test Paper Alignment for Full-Duplex Printing
How to Print the Full Deck on Half-Duplex Printers
How to Print the Full Deck on Full-duplex Printers
How to Laminate Cards
Self-Adhesive Laminating Sheets
Thermal Laminating Sheets
How to Cut Cards Apart
Cutting with Scissors
Cutting with Straight-Edge and Razor Knife
Cutting with Cutting Machine
How to Corner Cut Cards
How to Re‐laminate Cards After Cutting
Self‐Adhesive Laminating Sheets
Thermal Laminating Sheets
How to Fix Messed-up Half-Duplex Cards
Printing Single Sheets of 4 Cards
Printing Single Cards
How to Fix Messed-up Full-Duplex Cards
Printing Single Sheets of 4 Cards
Printing Single Cards
If you find any errors, either in this document, or the Keys to the Mind symbol pack, please send an email describing the problem to:
Editor@WeaverOfWebs.Org
Keys to the Mind Print Files
Click here to Download Print Files package
The following folders and files are provided in the Download Print Files package:
-
KeyPrintingInstructions.pdf:
These instructions in printable PDF format.
-
KeysToTheMind.pdf:
The instruction book for the Keys in printable PDF format.
-
HalfDuplexKeyPrintingFiles:
-
PrintTestPages:
-
HalfDuplexOrientAlignFront.pdf:
paper orientation and printer align front.
-
HalfDuplexOrientAlignBack.pdf:
paper orientation and printer align back.
-
HalfDuplexOrientAlignFront.pdf:
-
HalfDuplexPrint:
-
HalfDuplexFullDeckFront.pdf:
print 22 card fronts.
-
HalfDuplexFullDeckBack.pdf:
print 22 card backs.
-
HalfDuplexFullDeckFront.pdf:
-
HalfDuplexFixes:
-
HalfDuplexFixes4:
22 individual card front print files
and 1 card back print file.
-
HalfDuplexFixes1:
88 individual card front print files
and 1 card back print file.
-
HalfDuplexFixes4:
-
PrintTestPages:
-
FullDuplexKeyPrintingFiles:
-
PrintTestPages:
-
FullDuplexAlign.pdf:
printer front/back align test.
-
FullDuplexAlign.pdf:
-
FullDuplexPrint:
-
FullDuplexFullDeck.pdf:
print 22 cards (front and back).
-
FullDuplexFullDeck.pdf:
-
FullDuplexFixes:
-
FullDuplexFixes4:
22 individual card print files
(front and back).
-
FullDuplexFixes1:
88 individual card print files
(front and back).
-
FullDuplexFixes4:
-
PrintTestPages:
-
ScreenSaverFiles:
88 individual high-resoulution files
for use with a photo screen saver.
(Or just for a hi-rez look at the Keys)
How to Choose Paper/Cardstock
- The most important consideration for paper or cardstock is “bleed through,” or being able to see the black face of the cards when looking at the white back of the card. The stock must be opaque enough that you cannot see through it.
- The second consideration for paper/cardstock is thickness. Thinner paper/cardstock will be easier to shuffle, and will result in a thinner deck.
- If you want your deck to last for more than 30 years or so, look for paper/cardstock that is acid-free or archival.
When ordering paper/cardstock, be sure it’s compatible with your printer (inkjet and/or laser printer).
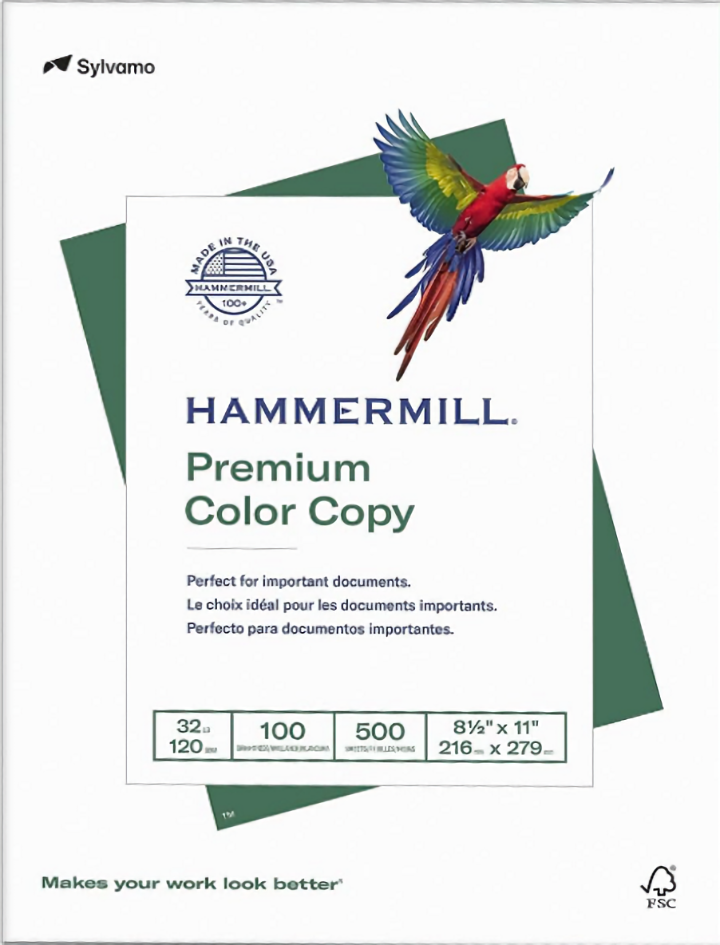
Recommendation: I’ve been using 32 lb. Hammermill Premium Color Copy paper from Amazon. The HP Premium32 paper is also good.
How to Choose Laminating Sheets
Laminating sheets are clear plastic sheets that are used to protect the front and back of the cards from wear and stains. There are two types of laminating sheets:
- Self-adhesive laminating sheets have sticky glue on one side. The sticky side is placed on the sheet of cards. The trick is to get it flat without bubbles. A brayer (wide roller) may help. The chief advantage is that you don’t need a heat laminating machine. You will need at least 44 sheets if you do not need to fix any cards because of mis-cutting.
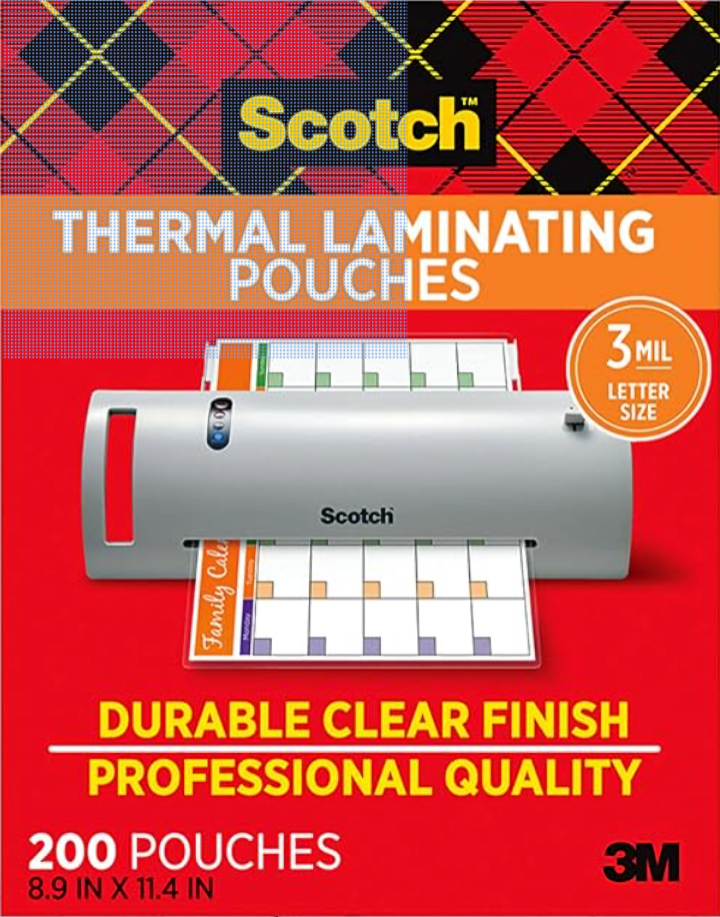
- Thermal laminating sheets are open-sided pouches of 3 mil or 5 mil plastic with heat activated adhesive on the inside. The sheet of cards is placed between the two sides and run through a heat laminating machine. The disadvantage is that you need to buy a heat laminating machine.
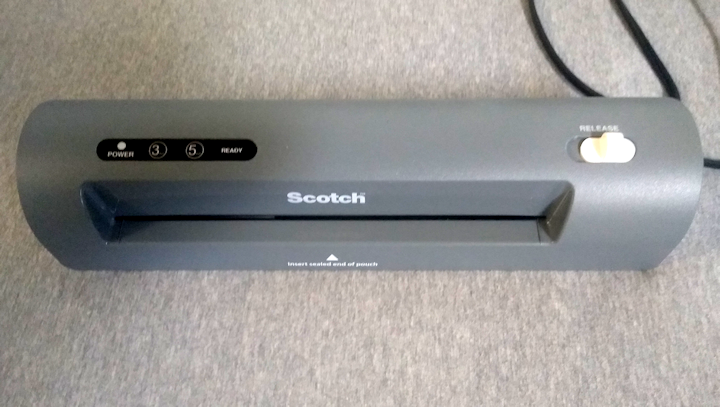
Recommendation: I use the Scotch heat laminating machine and the thermal laminating sheets in 3 mil thickness. The self-adhesive laminating sheets are too much work and too expensive. For a single deck, they may cost more than a laminating machine and laminating pouches.
How to Test Paper Orientation/Alignment for Half-Duplex Printing
Half duplexing, or manual duplexing means that you print one side of the paper and then turn the paper over manually to print the other side.
| 🡺 | Note: |
|
If your printer does not print both sides automatically, you have a half-duplex printer. |
Use regular printer paper for this test. You need to be able to see heavy black areas through the paper to make sure the paper orientation is correct and the alignment is acceptable.
Be sure to use the same paper feed for the test that you will use for printing the cards. For some printers this is the “auxiliary feed” instead of the normal paper tray.
- Print the HalfDuplexOrientAlignFront.pdf file first. It will print a large black arrow pointing towards the top of the page and the outline of a heavy black rectangle below it.
- Turn the paper over and arrange for it to be printed again on the other side.
- Print the HalfDuplexOrientAlignBack.pdf file next. It will print a large black arrow pointing towards the top of the page and the standard card back below it.
-
Look at the paper from the second side (with the card back). If necessary, hold it up against a window or a light so that you can see the first side through the paper.
- If everything is printed on one side of the paper, you have not turned the paper over properly when printing the second side. Start over and remember to turn the paper over the opposite way for second side.
- The black arrows on each side should both point in the same direction. If one points up and the other points down, you have turned the paper over the wrong way. Start over and turn the paper over top to bottom the for the second side.
-
Look at the card back. If it falls within the heavy black outline, your front-to-back printer alignment is okay. It does not have to be perfectly centered. If the card back fits within the outline, it’s close enough, and not something you can usually fix without getting a new printer.

| 🡺 | Note: |
| Be sure to remember which way to turn the paper for proper orientation. |
How to Test Paper Alignment for Full-Duplex Printing
Full duplexing means that your printer turns the paper over automatically and prints the second side from the next file image.
Use regular printer paper for this test. You need to be able to see heavy black areas through the paper to make sure of paper alignment is acceptable.
Be sure to use the same paper feed for the test that you will use for printing the deck. For some printers this is the “auxiliary feed” instead of the normal paper tray.
-
Print the FullDuplexAlign.pdf file. In the print dialog box, select “Print on Both Sides of Paper” and “Flip on Long Side.” It will print an outline of a heavy black rectangle on the front of the page and the standard card back on the back of the page.
-
Look at the paper from the second side (with the card back). If necessary, hold it up against a window or a light so that you can see the first side through the paper.
Look at the card back. If it falls within the heavy black outline, your front-to-back printer alignment is okay. It does not have to be perfectly centered. If the card back fits within the outline, it’s close enough.
If the card back does not fit within the outline, your printer may have an adjustment for front-to-back alignment. Consult your printer’s documentation for how to adjust the alignment.
Repeat the test until you are satisfied with the alignment.
How to Print the Full Deck on Half-Duplex Printers
To print the full deck on half-duplex printers:
- Place 22 sheets of heavy weight paper in the appropriate feed (paper tray or auxiliary feed).
- Print the HalfDuplexFullDeckFront.pdf file. It will use a lot of black ink.
- Turn the paper over and prepare to print the back HalfDuplexPrint file. Be sure to turn the paper over the same way you turned the paper over in the orientation test.
-
Print the HalfDuplexFullDeckBack.pdf file. Grab the first page out of the printer and check that the top-to-bottom orientation is correct.
- If the top-to-bottom orientation is correct, allow the printing to continue until all 22 sheets have been printed.
- If the top-to-bottom orientation is wrong, stop the printer. You will need to use one of the HalfDuplexFixes files to reprint the spoiled sheets before continuing. This is done to prevent wasting too much black ink.
How to Print the Full Deck on Full-duplex Printers
To print the full deck on full-duplex printers:
- Place 22 sheets of heavy weight paper in the appropriate feed (paper tray or auxiliary feed).
- Print the FullDuplexFullDeck.pdf file. It will use a lot of black ink.
How to Laminate Cards
Self-Adhesive Laminating Sheets
If you are using self-adhesive laminating sheets, read the directions on the package carefully. The major tricks are:
- Getting all the card images under the laminating sheet. (Getting it on straight before it gets stuck.)
- Getting the laminating sheet down smoothly without bubbles.
You will need to use 2 laminating sheets for each page; one for the front, and one for the back. That will be 44 laminating sheets.
The directions may suggest that you use a brayer (wide roller) to press the laminating sheet down firmly onto the paper.
| 🡺 | Note: |
| Self-adhesive laminating sheets are expensive, particularly if you make any mistakes and have to reprint some pages. |
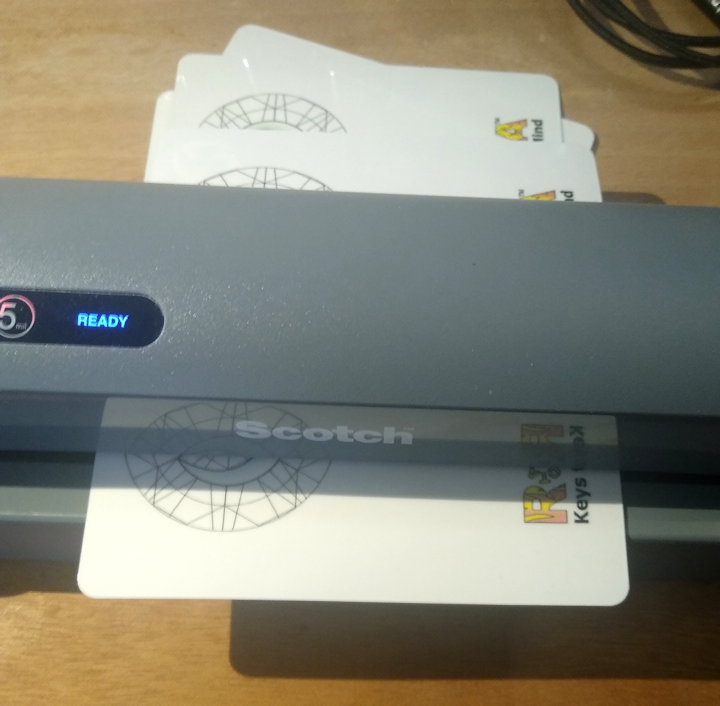
Thermal Laminating Sheets
You will use one laminating sheet for each page. That will be 22 laminating sheets.
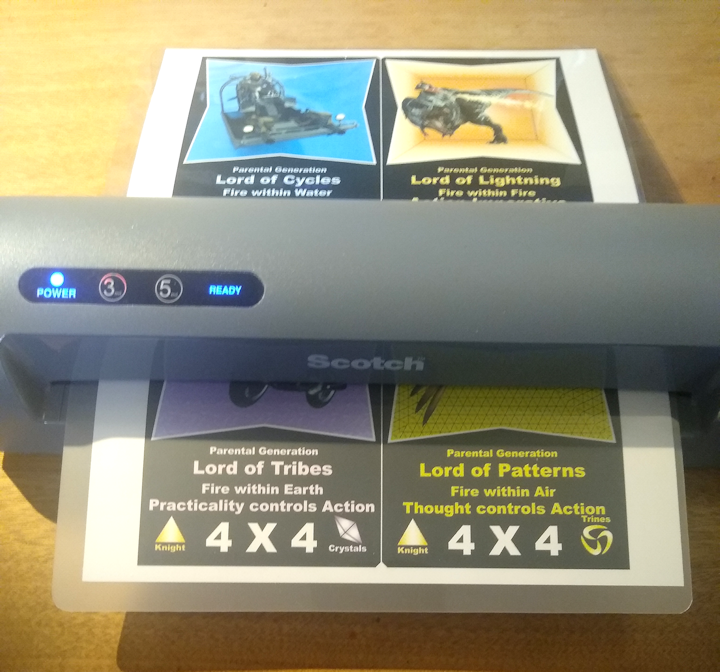
Plug in the heat laminating machine and let it warm up. Set it for 3 mil laminating sheets. Do not start until the machine is ready.
- Place each sheet of cards into the thermal laminating sheet so that it is completely covered by the plastic. The card sheet does not have to be perfectly aligned with the laminating sheet as long as it is completely covered.
- Feed the sheet through the laminating machine.
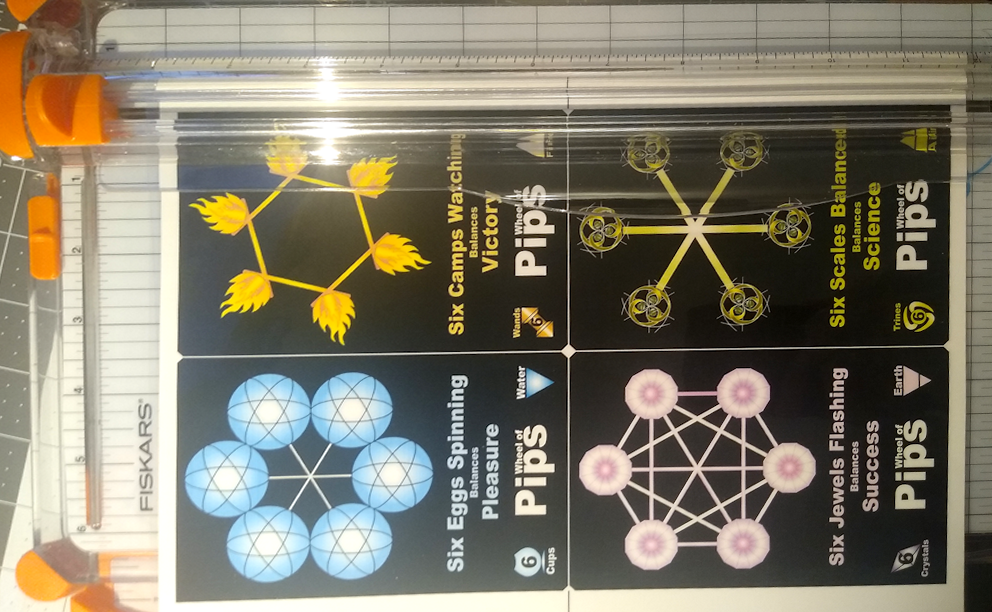
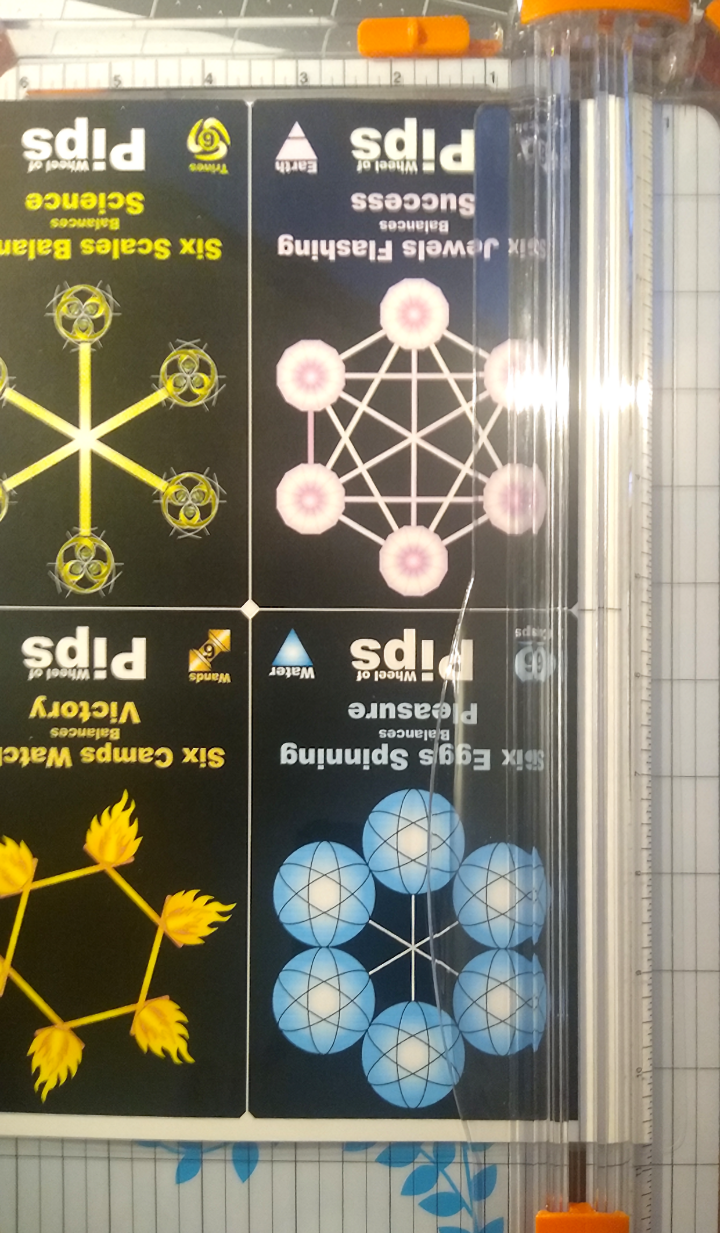
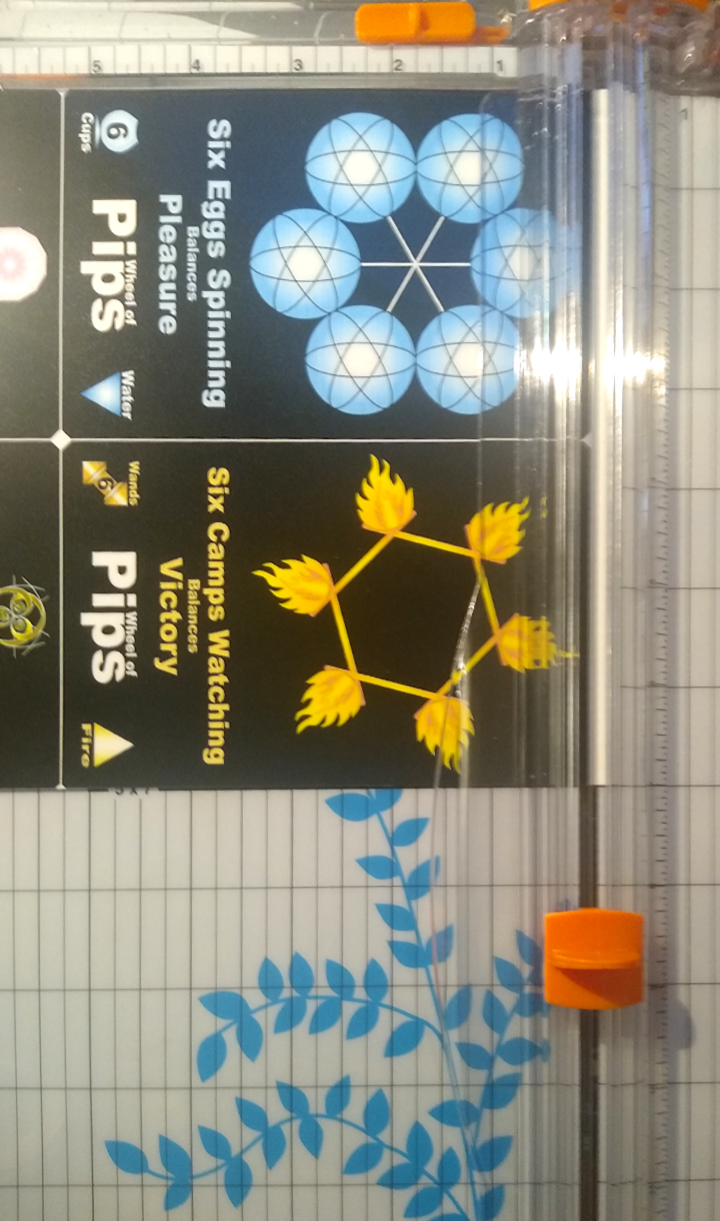
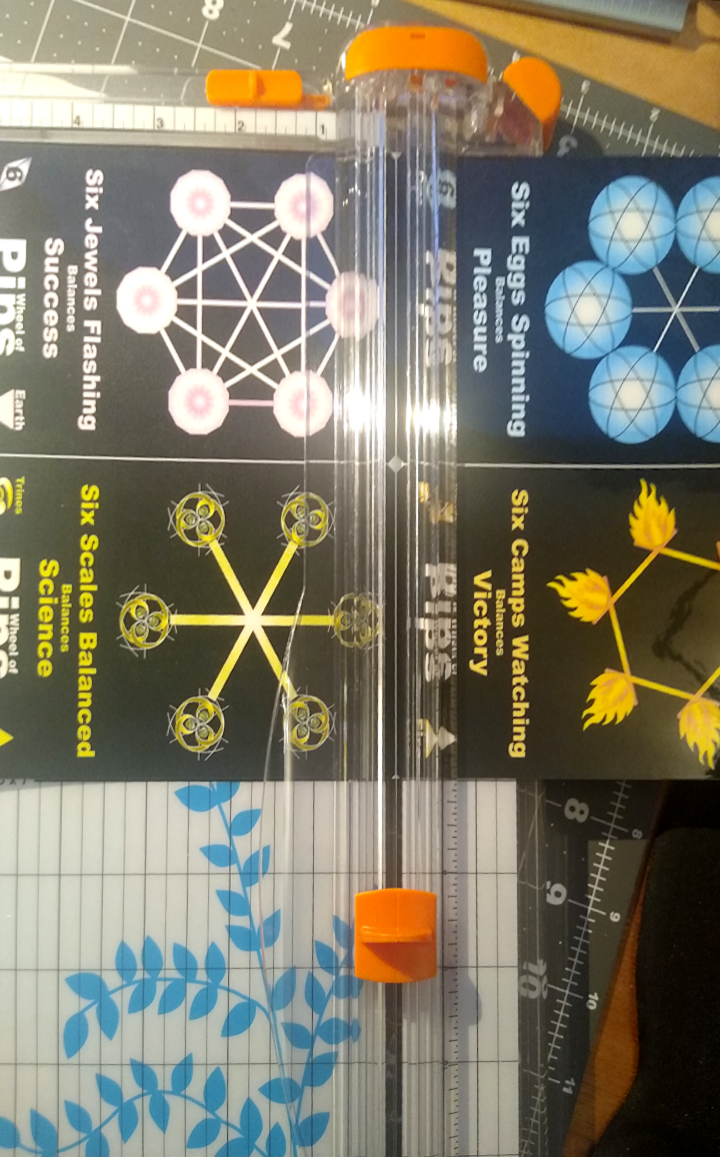
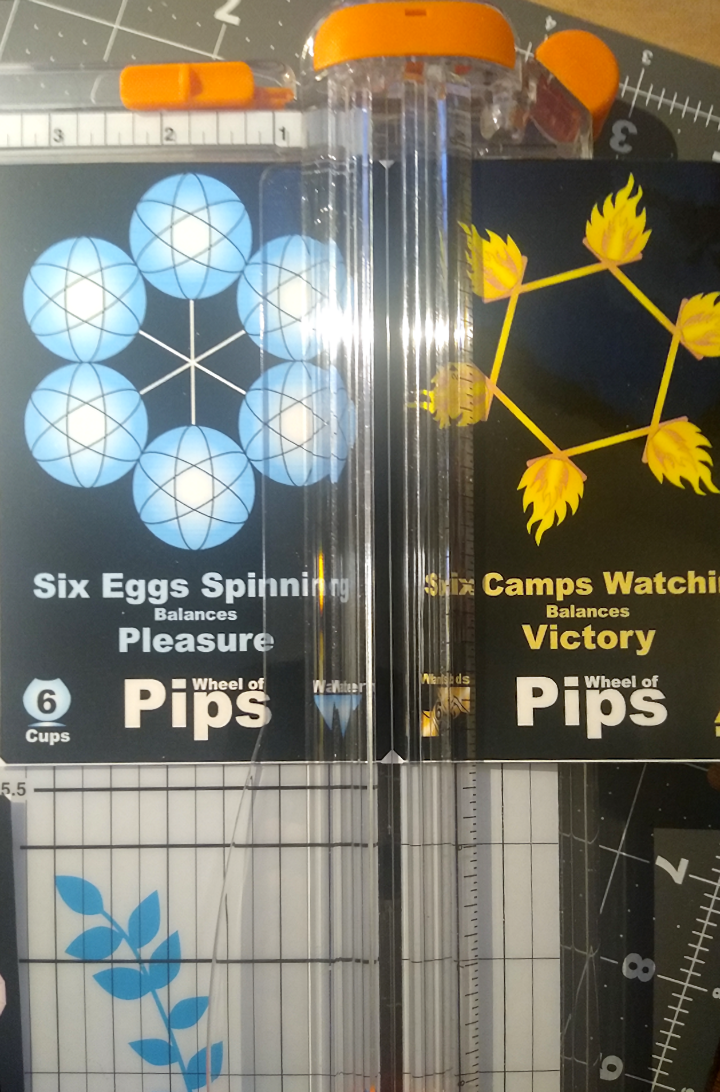
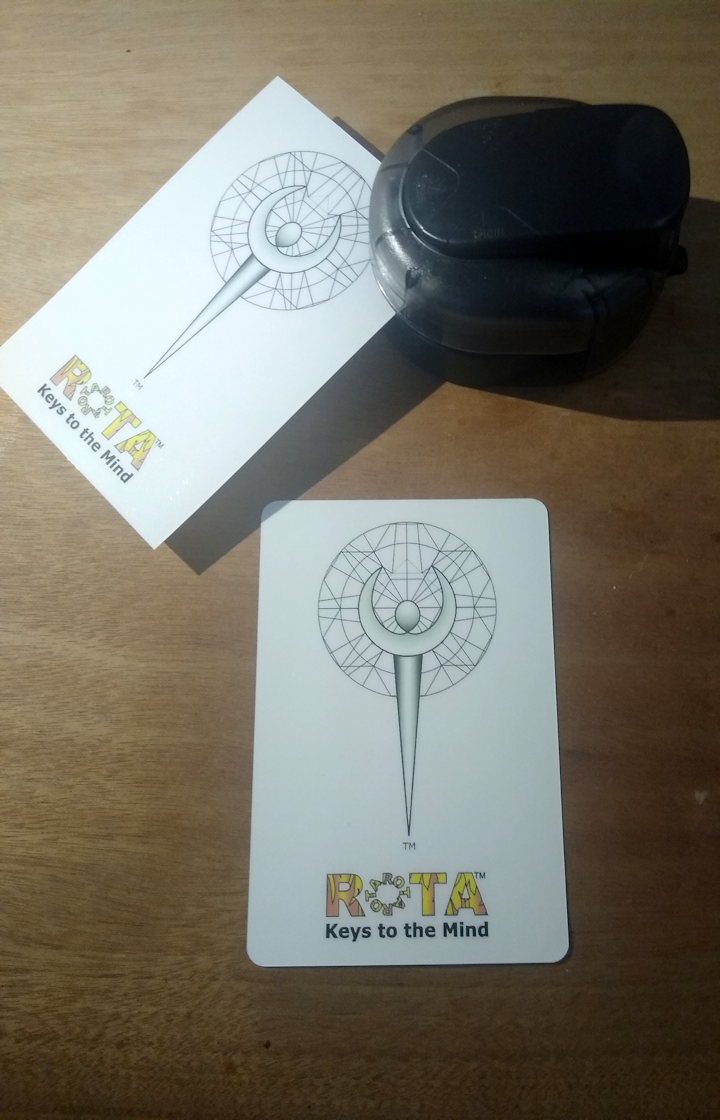
How to Cut Cards Apart
| 🡺 | Note: |
| Each sheet contains four card images. Always work from the card front (black) side. |
Recommendation: Use the cutting machine. It’s not very expensive and it’s much easier.
Cutting with Scissors
| 🡺 | Note: |
| Use paper scissors. Cutting paper dulls sewing scissors rapidly. |
Cut around all four sides being careful to stay at the edges of the cards so that there is no white showing, and so that you don’t cut off any of the black. It’s up to you how perfect you want to be.
- Cut the long outside edges first.
- Cut the short outside edges second.
- Cut on the short white line between the top and bottom blocks of cards.
- Cut the long white line between each block of two cards last.
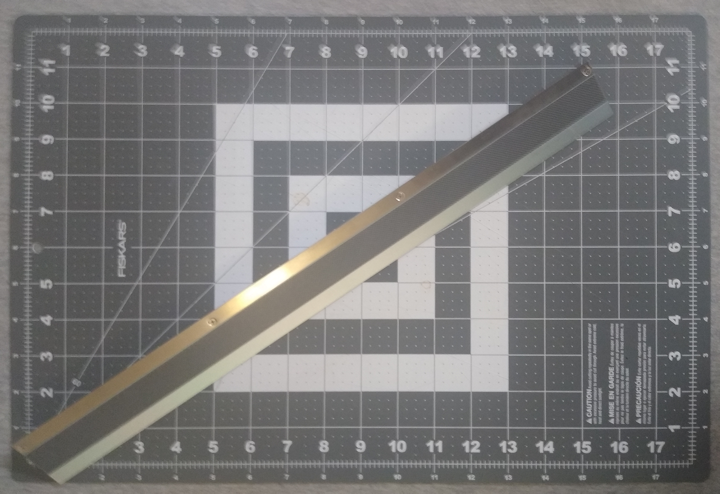
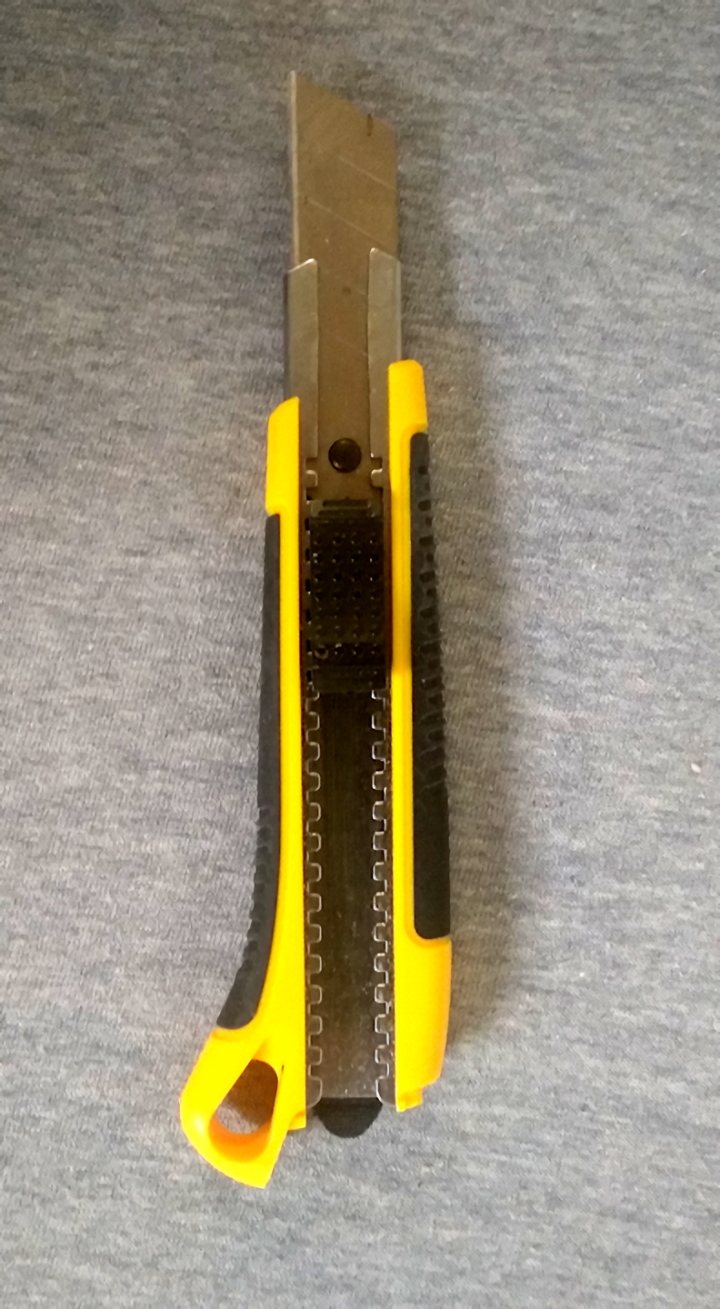
Cutting with Straight-Edge and Razor Knife
- Use a self-healing cutting board so that you don’t cut up your desk or counter.
- Use a straight-edge with a non-slip coating on the bottom.
- Use a “break off” blade utility knife so that you always have a sharp edge. Change blades frequently. Paper dulls blades quickly.
- Follow the directions for cutting with scissors.
Cutting with Cutting Machine
To use a cutting machine, you line up each cut with marks on the machine and then slide a razor head along it’s track to make the cut. It’s a little bit tricky until you get the hang of it.
-
Make the first cut along one of the long edges. You must line up the cut with the nearly invisible guide line. There are three tricks:
- Put the slider all the way at the top or bottom so it’s out of the way.
- DO NOT put the sheet against the top edge. The card images are not square with the laminating sheet.
- Align the black edge with the cutting guide wire if you can see it. The black edge will be exactly halfway in the magnified area where the cutter runs. It is easier to get it halfway than to see the cutting guide wire.
-
After the first cut, you have a straight edge that you can use to align the next 3 cuts. Be sure to use the straight edge against the top of the cutter to ensure that the cuts will be square.
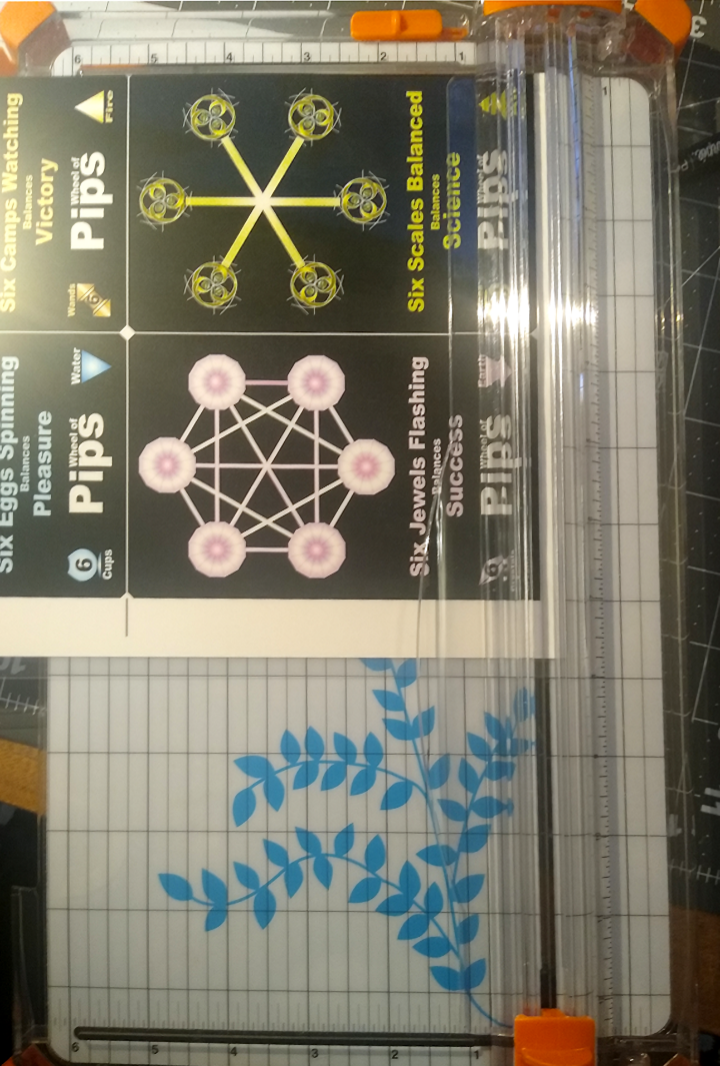
-
Next, cut the trimmed block of four cards down the center. Finally, cut apart each group of two cards.
| 🡺 | Note: |
| Expect to mess up the first time you try this, and occasionally afterward. However, you will mess up a lot less this way than using the other methods. |
How to Corner Cut Cards
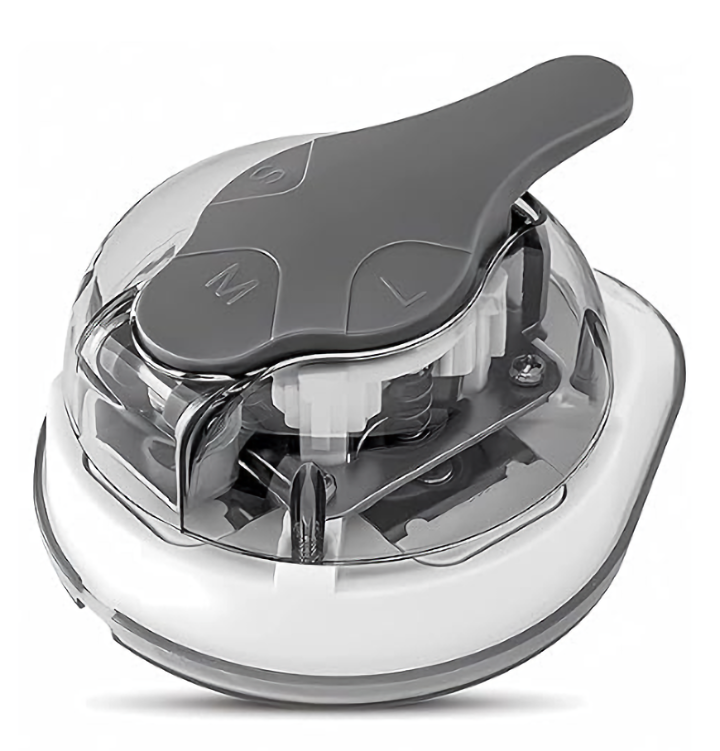
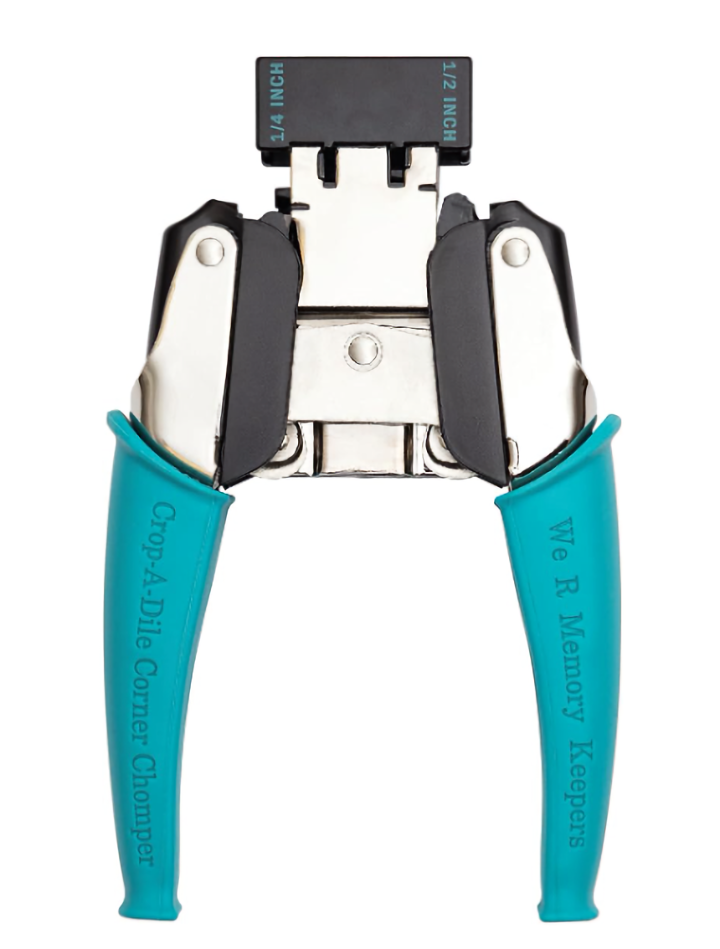
You will need a corner-rounding punch. They come in two types:
-
Plastic press-down punches with 3 corner sizes. Inexpensive, but they will make your arm and shoulder hurt if you punch the whole deck at once.
- Metal squeeze-handle punches with one or two corner sizes. Expensive. They will make your hand hurt if you punch the whole deck at once.
These cards should use a medium or 5 mm cut. (1/4 inch or 6mm is okay.)
- Insert each corner of each card into the correct size opening of the punch. Since the cut is symmetrical, it doesn’t matter which side is up.
- Make sure the card is against the stops and all the way into the punch.
-
Press or squeeze the punch. (Empty the punch frequently.)
- Examine the corner. You may find that the cut is not clean or that the lamination has come loose. Turn the card over and re-punch carefully if necessary to get a clean cut.
For 88 cards, that is 352 punches. Expect your arm or hand to get very tired. You may not want to do the entire deck at once.
How to Re-laminate Cards After Cutting
Punching the corners on the cards sometimes makes the laminating come loose at the corners.
Self-Adhesive Laminating Sheets
Use a brayer to press the laminating sheets back onto the individual cards. Do this for all cards as it may not be obvious that there is a problem.
Thermal Laminating Sheets
- Turn the heat laminating machine on and set it for 5 mil sheets. (I know we are using 3 mil sheets.)
-
When the machine is ready, run each card through the machine.
How to Fix Messed-up Half-Duplex Cards
Cards can be messed up by poor laminating, poor cutting, and poor corner cutting. Cards may also be damaged or lost.
Use the single sheet method if you need 2 or more cards and want to save laminating sheets at the expense of using more ink. Use the single card method if you need 1 to 3 cards and want to save ink at the expense of using more laminating sheets.
Printing Single Sheets of 4 Cards
Folder HalfDuplexFixes4 contains 23 files; 22 for card fronts and one for card backs.
- Place 1 sheet of heavy-weight paper in the appropriate feed.
- Print the file for the card fronts that you need. The file name indicates which cards are in the file.
- Turn the paper over and print the card back file.
- Continue with laminating the sheet.
Printing Single Cards
Folder HalfDuplexFixes1 contains 89 files, 88 for each card front, and one for the card back.
- Place 1 sheet of heavy-weight paper in the appropriate feed.
- Print the file for the card front that you need. The file name indicates which card is in the file.
- Turn the paper over and print the card back file.
- Continue with laminating the sheet.
How to Fix Messed-up Full-Duplex Cards
Cards can be messed up by poor laminating, poor cutting, and poor corner cutting. Cards may also be damaged or lost.
Use the single sheet method if you need 2 or more cards and want to save laminating sheets at the expense of using more ink. Use the single card method if you need 1 to 3 cards and want to save ink at the expense of using more laminating sheets.
Printing Single Sheets of 4 Cards
Folder FullDuplexFixes4 contains 22 files for card groups.
- Place 1 sheet of heavy-weight paper in the appropriate feed.
- Print the file for the card group that you need. The file name indicates which cards are in the file.
- Continue with laminating the sheet.
Printing Single Cards
Folder FullDuplexFixes1 contains 88 files, one for each card.
- Place 1 sheet of heavy-weight paper in the appropriate feed.
- Print the file for the card that you need. The file name indicates which card is in the file.
- Continue with laminating the sheet.